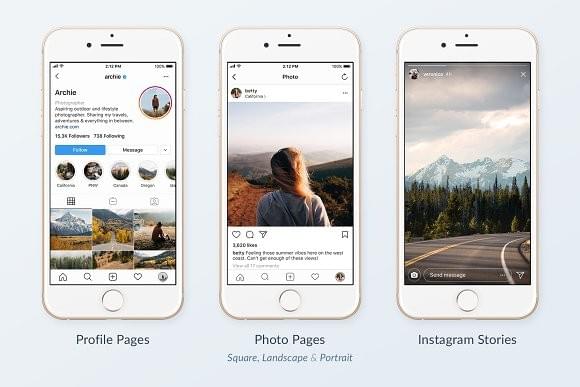
Let’s Face it, Social Branding is Competitive!
What is your company doing to stand out amongst the millions of millennial brands?
In a few simple steps, I will share the steps necessary to utilize a Mobile Lightroom Preset, or in layman’s terms a custom photo filter, to optimize and strengthen your brand identity.

Lightroom presets have become a common feature on social media. My recommendation is to find one that you like and purchase it, rather than try to develop a custom filter from your mobile device. Mobile Lightroom Presets are available from anywhere between $2 and $150 depending on the total number of presets that are included in the package. The median prices range from $2-$10, which if you are not familiar with making presets it would be beneficial to purchase a package to save time and added costs of purchasing the adobe software. To make a Mobile Lightroom Preset purchase, Etsy has hundreds of options and portfolio’s showing how your photos will look once the preset is applied.

Find my dream Mobile Lightroom Preset
Once you have completed your transaction on Etsy, your file will show in what is perhaps an unfamiliar file extension type; an Adobe Digital Negative Raw Image or DNG file. The DNG file structure provides a means for storing an image and for preserving additional information about the photo, such as metadata color profiles and “preset color theme settings”.
Please note if you made your preset purchase by using the Etsy App you will not be able to complete the following steps without access to a desktop.
Instructions:
- Purchase Mobile Lightroom Preset
- Download DNG files to your desktop
- Create a new email, and resend the DNG files to yourself as attachments
- Open email on your Mobile Device
- Select each file and select to open the file in Lightroom App
Here you will see the file image and at the top of your screen
- Once you have opened the preset file in your Lightroom App select the breadcrumbs icon or “…” from the upper right corner
- Rename the preset as something unique and select the check icon in the upper right corner.
- Repeat the steps for each preset that you would like to use in your photos, and always rename the DNG file with a unique name.
Now let’s test to see if the steps have worked!
- Close the applications
- Open Lightroom
- In the lower right corner select the “picture +” icon and select a photo to test the photo preset
- Once the image is open on your mobile device you can modify the photo with the options across the lower navigation bar, or select that Mobile Lightroom Preset that you have imported to the App.
- If you would like to use the mobile preset, swipe left on the lower navigation bar and select the overlapping circles labeled Presets.
- From here a list of the uploaded presets will appear with the naming convention you initially assigned.
- Once you have selected the user preset of your liking select the check icon on the lower right corner of the app.
- If you are done modifying your images, select the upper right icon to upload the mobile photo to share or save to your camera roll.
Ta-Da!
You have completed the necessary steps for your Mobile Lightroom Preset.
Is there a new social or marketing trend that you want to learn the steps to do? Send it to the Plant Workshop and we will uncover the instructions necessary to make it happen!
Cheers!
Reesha Mercedes
Please note these instructions have been created for Apple devices. Instructions may vary slightly for Android devices.
